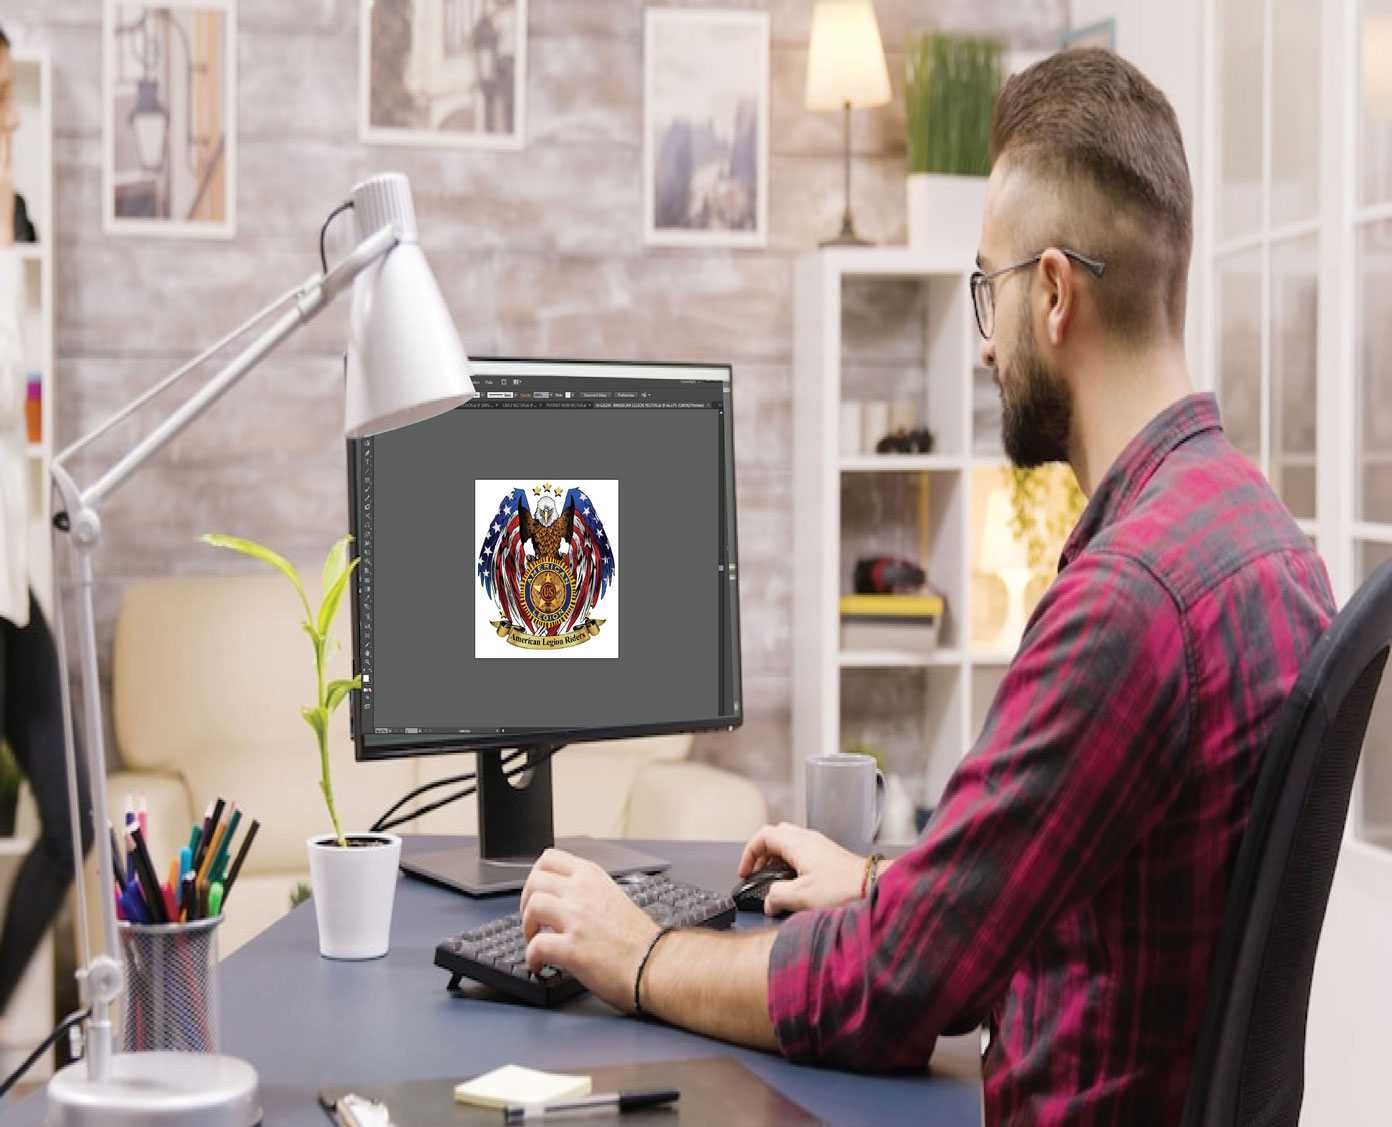
Turning a flat JPG picture into a stitch file feels a bit like magic, but it is really just a process of translation. You are moving from the pixel-based world of screens into the physical world of thread, tension, and fabric. Turn JPG Graphics into Stitch-Ready EXP Designs by understanding that your embroidery machine cannot read a picture; it only reads a map of needle movements. This guide walks you through the practical steps of converting a JPG into an EXP file, avoiding the common traps that make beginners want to pull their hair out.
Why Your Machine Needs an EXP (and Not a JPG)
Before you touch any software, it helps to know why you are doing this. A JPG file is just a grid of colored dots meant for a screen. An embroidery machine, however, is a robot that needs to know exactly where to drop a needle, in what order, and in what direction. The EXP format is a specific type of stitch file used by several machine brands, most notably Bernina and Melco. It acts as the instruction manual for your needle.
There is a small catch with EXP files that you should know upfront. The commercial version, often called Melco EXP, usually does not store thread color information. It just tells the machine where to stitch, and the colors come from whatever thread chart is loaded on the machine or software. If you are using a Bernina machine, the “Bernina USB EXP” format is the one you want. It usually comes as a package of three files: the EXP file itself, an INF file for the thread colors, and a BMP file for the on-screen preview. When you save your design, check which flavor of EXP your machine prefers so you do not end up with a design that stitches in the wrong colors.
Picking the Right Kind of JPG
Not all JPG images are created equal when it comes to embroidery. The single biggest factor in your success is the artwork you start with. Flat graphics with clear edges and a limited number of solid colors convert beautifully. Think logos, simple icons, bold lettering, or clean line drawings.
Photographs and images with soft gradients, however, are a nightmare for thread. Thread is about one millimeter wide and comes in a finite number of colors. A smooth fade from light blue to dark blue in a JPG becomes a series of harsh, stepped bands in embroidery. If your JPG has shading, tiny details, or more than six or seven colors, you are setting yourself up for a frustrating digitizing session. If you only have a photo, try to simplify it or posterize it in an image editor before you even open your embroidery software. The goal is to give the software clean blocks of color to work with.
The Software Workflow: From JPG to Stitches
You do not need to be a professional digitizer to get a decent result, but you do need to use the right tools. Most modern embroidery software, like Hatch or Wilcom, has an auto-digitizing feature that does the heavy lifting.
Step 1: Insert and Size Your Artwork
Open your software and insert your JPG onto the workspace. This is the moment to set your final size. Do not wait until after you generate the stitches. The software needs to know the final dimensions right away because stitch density, pull compensation, and detail levels all depend on how big the design will be on the fabric. If you plan to sew a logo on a hat, size it for a hat now. If you resize an auto-digitized design later, the stitch count can become dangerously high, or the details can become too dense and stiff.
Step 2: Let the Software Do the First Pass
Select your image and fire up the auto-digitize tool. The software will analyze the JPG and try to identify regions of color. It will present you with a preview that reduces your image to a handful of thread colors. This is where you have to be honest about what thread can actually do. If your JPG had ten shades of red, the software might reduce it to two or three. You can often manually reduce the color count even further to make the design cleaner and easier to sew.
Step 3: Assign Stitch Types and Clean Up
Auto-digitizing is a starting point, not a finished product. Once the software generates the objects, you need to go through them. Large areas usually look best with a tatami fill, while narrow shapes, outlines, and lettering need a satin stitch to look sharp. You will also likely need to delete stray objects that the software picked up from noise in the JPG, like a speck of dust or a compression artifact.
Pay attention to the stitch order. A messy sequence means the machine will jump back and forth across the design, increasing the chance of the fabric shifting and ruining the registration. Use the software’s color sequence tools to optimize the path so the machine moves logically from one block of color to the next.
The Rules That Save Your Design
You can save yourself a lot of heartbreak by remembering a few hard limits of embroidery.
Thin lines disappear. If a line in your JPG is thinner than about one millimeter, it will either vanish or turn into a messy, unstable run stitch. Small text with thin strokes will fill in and become a blob. If your design has fine details, you either need to make the design significantly larger or redraw the artwork with thicker lines.
Gradients band. Embroidery has no opacity. You cannot blend two thread colors to make a third. A gradient in a JPG will become distinct stripes of whatever thread colors the software chose. If you want a smooth look, you have to accept that it will be stylized.
Test before you commit. Never run a production batch of shirts or bags with a freshly digitized EXP file. Stitch one sample on the exact fabric you plan to use. The screen preview can lie; it does not show you how the fabric will pull, how the thread will shine, or whether the density is too tight for the material.
Saving Your EXP File
Once you are happy with the preview and the stitch simulation, it is time to export. Save your master file in the software’s native format (like an EMB or PES) first, so you can go back and edit it later. Then, use the “Export” or “Save As” function to select the EXP format.
If you are using a Bernina machine, double-check whether you need the standard EXP or the Bernina USB EXP. If you need the Bernina version, make sure you save it directly to your USB stick so the software generates the companion INF and BMP files alongside it. For other machines that read EXP, a simple export is usually sufficient, but always check that the thread color sequence looks correct on the machine’s screen before you hit start.
Conclusion
Creating an EXP file from a JPG is a skill that sits right at the intersection of art and engineering. You are not just converting a file; you are making decisions about how thread will physically behave on fabric. Start with simple, bold artwork, respect the physical limits of thread size, and always, always do a test stitch. The more you practice, the better you will get at predicting exactly how a flat JPG will translate into a beautiful, textured embroidery design